| Red Hat Documentation |
 |
Pulling Yourself Up by the BootWhen you're logged in as root, you might want to take a few minutes to create a fresh boot disk or copy the boot disk you already have. There are a number of reasons you should make a boot disk: it can help you recover from a system failure, it can help you test a new kernel you've downloaded and compiled and it can help you share your computer with more than one operating system.
You were given the opportunity to make a boot disk when you installed Red Hat Linux. If you chose not to make a boot disk at installation, here's your chance to start from scratch. For now, we'll make boot disks from the shell prompt while we're in an X session. Go to the shell prompt: In GNOME, for example, click on the Main Menu Button on the panel, go to Utilities in the menu and click on one of the items marked Xterm or on the GNOME terminal item. Now, make sure you're logged in as root. At the shell prompt, if you see something like [billy@localhost billy]$, for example, type:
This will allow you to change from your user account to the root login account.
Briefly, we'll find the Linux kernel version; then, we'll use the mkbootdisk command to make a bootable floppy from the kernel. Put a standard diskette in the floppy drive.
If you've previously used the diskette, remember: You will lose anything that had been on that diskette!
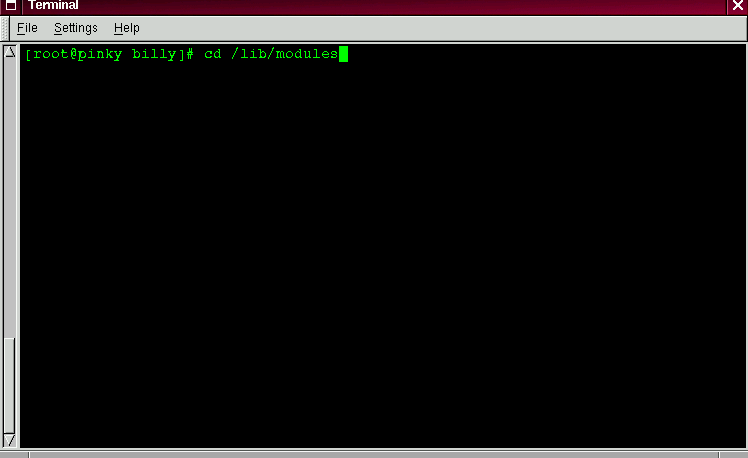
Now, at the prompt, type:
Now, type:
Here, you can find the kernel version of your Red Hat Linux system. The kernel is the heart of any Linux system. Your kernel version will be something similar to:
Now that you've found the kernel version, you can tell the mkbootdisk command which kernel to copy to your floppy. (If you don't tell mkbootdisk where to copy the kernel, it will default to copying to the floppy in /dev/fd0.) Just type:
Then press Enter.
You're done.
|
|
|||||||||||