At this point, you should have a file named
/etc/httpd/conf/server.key, containing your key,
and a file named /etc/httpd/conf/server.crt,
containing your test certificate. If your key and certificate are
somewhere else, move them to these directories. If you changed any of
the default locations or filenames for the Red Hat Linux Secure Server in your Apache
configuration files, you should put these two files in the appropriate
directory, based on your modifications.
Now start your server as described in the section called Starting and Stopping Your Server. Your server should start.
Point your Web browser to your server's home page. The URL to access
your Red Hat Linux Secure Server will look like this:
 | Please Note |
|---|
| | Note the "s" after "http." The https: prefix
is used for secure HTTP transactions. If your connection goes
through, you should see a dialog box indicating that your browser must
be configured to accept the test certificate.
|
Your browser will not automatically recognize the test certificate,
because the certificate is not signed by a CA. Follow the instructions
provided by your browser to accept the test certificate. You can just
accept the defaults by clicking Next until the
dialogs are finished.
Once you've configured your browser to accept the test certificate, your
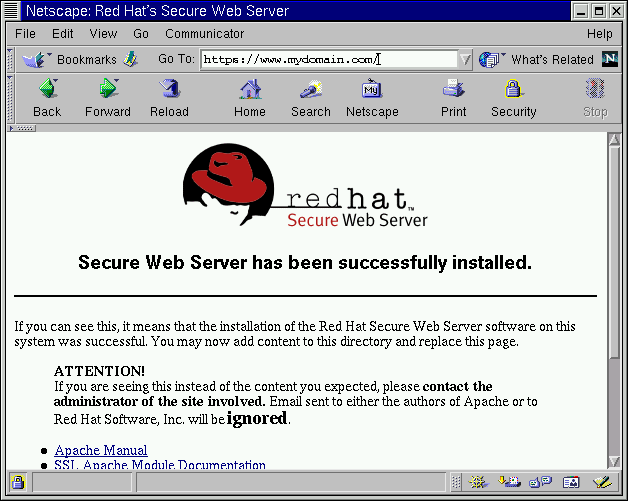
Red Hat Linux Secure Server will show you a default home page as shown in Figure 3-6.
Your secure Web server is running. The next step is to buy and install
a real certificate.



 Download