| Red Hat Documentation |
 |
Performing a Partitionless InstallationIf you have a DOS (FAT) filesystem you must first make sure you have a DOS (FAT) partition with enough free space to dedicate to this installation. How Much Space Do I Need?Like a typical installation, you will need to have enough available space in order to install Red Hat Linux on your system. To give you an idea, below is a list of installation methods and their minimum space requirements. For more information about these installation classes, see the section called Step 7 - Which Installation Type is Best For You? in Chapter 2.
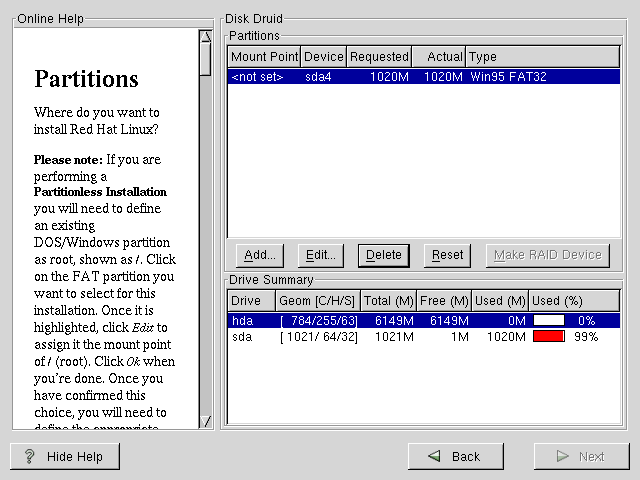
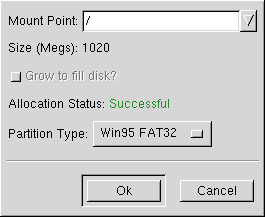
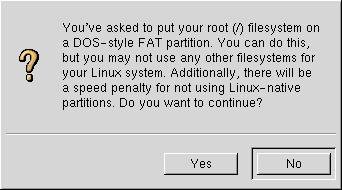
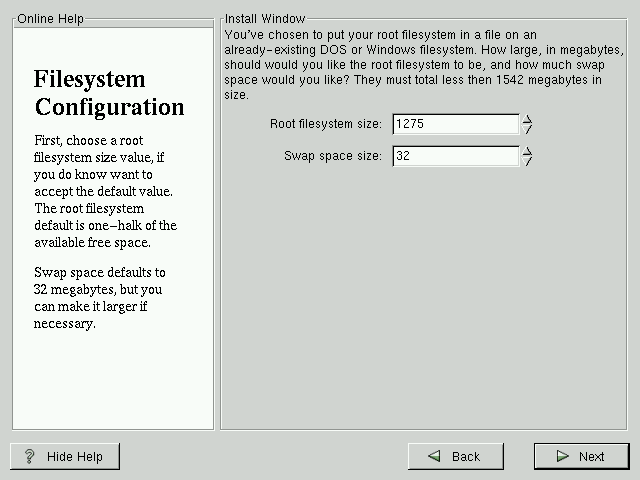
Using Disk DruidSince you will not be adding partitions or creating new partitions, there is relatively little that you actually need to do with Disk Druid (a GUI partitioning tool). What you should see when Disk Druid's main screen appears is a list of your DOS (FAT) partitions (see Figure B-1). Choose a DOS (FAT) partition with enough available free space to install your choice of installation classes. Highlight the partition by clicking on it with your mouse or by using the Tab, Up and Down keys. Once the desired partition is highlighted, choose Edit. A new window will appear allowing you to name this partition (see Figure B-2). In the mount point field, label this partition as / (known as root) and click Enter. A confirmation window (see Figure B-3) will appear next asking you to confirm that you do want to continue with this installation. It also explains that you cannot have any Linux partitions on your system other than the / labeled DOS partition that you have just created. Click Yes to continue. Next, you will be able to determine the root filesystem size and the swap size of this / partition. The installation program will determine the maximum size for the root filesystem (Figure B-4). You can make the root filesystem anything you would like, as long as it does not exceed the maximum size recommendation. The size you create for the root filesystem is the amount of disk space available for the entire filesystem (this means that you need to keep in mind the size of the installation class as well as allow you space to write and save data to). Swap space acts like virtual memory. In other words, data is written to a swap partition when there is not enough RAM to store the data your system is processing. The installation program will set swap to 32MB as a default. You can choose to increase the swap size if desired, but there is no need to create a swap space larger than 256MB. From here, you can continue following the main installation chapter (see the section called Network Configuration in Chapter 4) for further installation instructions. The only difference you will see from this point is a screen prompting you to create a boot disk. Once you make the boot disk and follow the other instructions, your installation will be complete. To access Red Hat Linux, make sure the boot disk that you created during the installation is in your floppy drive. When you reboot your system it will enter into Red Hat Linux rather than your other OS. To access your other OS, remove the boot disk and reboot your system. How to Remove a Partitionless Installation From Your SystemTo remove this partitionless installation, you will need to delete the following files:
These files can be found in the partition's root directory (known as \ under Dos/Windows.) Once these files have been removed, Red Hat Linux will no longer boot on your system. Your system will return to its previous state and you will be able to access the space used by Red Hat Linux as you normally would. |
|
|||||||